
How to make homemade dog treats doesn’t have to turn into a weekend baking project or a pantry scavenger hunt, you can keep it simple, repeatable, and still feel confident about what goes inside.
Most people start for the same reasons, store-bought options feel pricey, ingredient labels look confusing, or your dog has a sensitive stomach and you want fewer surprises. The good news is you can get consistent results with a short ingredient list and a couple of basic techniques.
This guide focuses on “easy” in the real-life sense, minimal mess, flexible substitutions, and storage that fits a normal week. You’ll also get a quick safety checklist, because a treat is only a treat if it agrees with your dog.
What “easy” really means for homemade dog treats
When readers ask how to make homemade dog treats, what they often mean is, “I want something I can actually stick with.” For most households, that comes down to three things.
- Few ingredients: 3–6 items you can find at a regular U.S. grocery store.
- Forgiving texture: dough that doesn’t require perfect rolling or fancy cutters.
- Predictable storage: a treat that holds up for a week in the fridge or can be frozen.
If you want extra convenience, choose no-icing, no-frosting treats and skip “decorative” steps, dogs do not care, and your schedule probably doesn’t either.
Safety first: ingredients to use, and ingredients to avoid
Homemade treats can be simple, but they still touch nutrition and food safety. According to the American Kennel Club (AKC), some human foods are toxic to dogs, so it’s worth being conservative when you experiment.
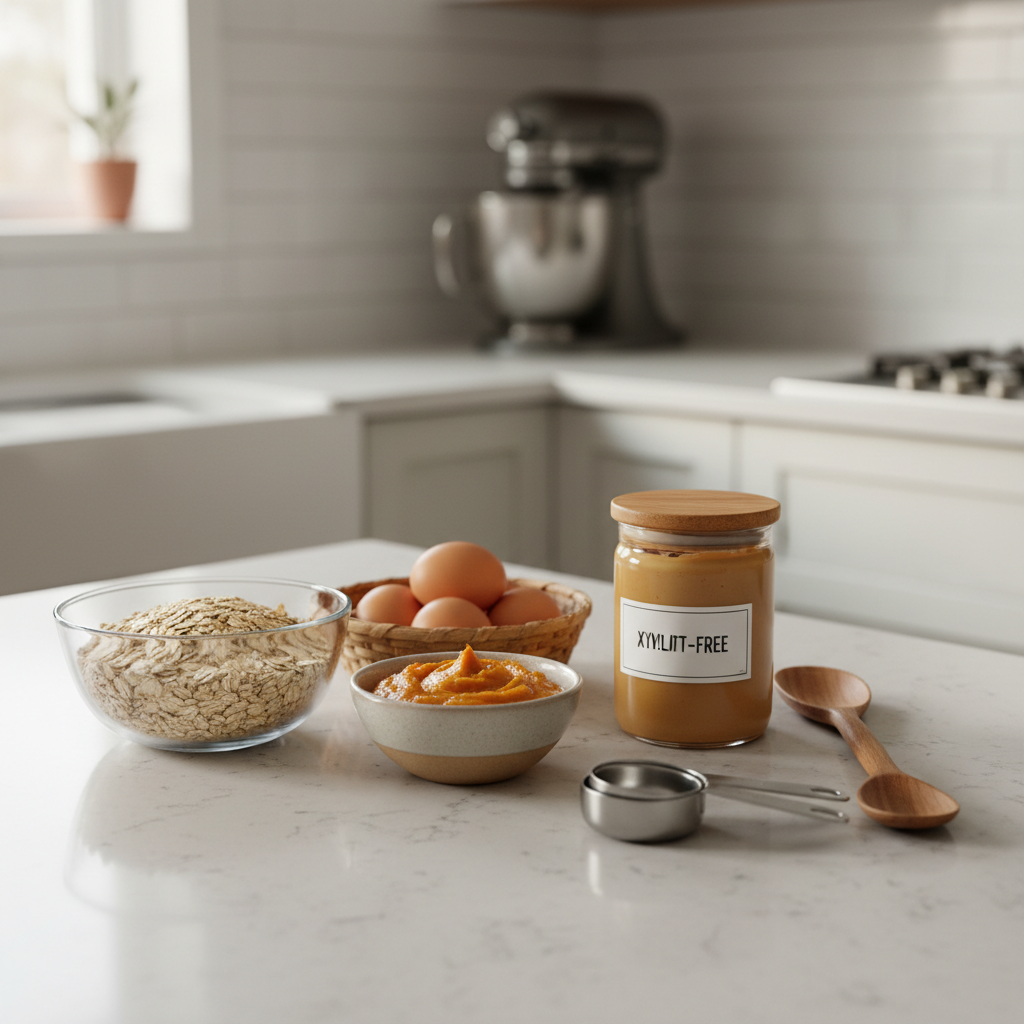
Generally dog-friendly staples (common, not universal)
- Plain pumpkin puree (not pumpkin pie filling)
- Oats or oat flour
- Eggs (fully baked in recipes)
- Plain yogurt (if your dog tolerates dairy)
- Peanut butter that is xylitol-free
- Cooked lean meats in small amounts
Common “no” list (double-check before you bake)
- Xylitol (often found in sugar-free products, some peanut butters)
- Chocolate, grapes/raisins, onions, garlic, macadamia nuts
- Excess salt or heavily seasoned foods
- Fatty add-ins that can upset sensitive stomachs
If your dog has pancreatitis history, food allergies, or is on a prescription diet, it’s smart to ask your veterinarian before making treat changes, even “healthy” ingredients can be a bad fit in some cases.
A quick self-check: which treat type fits your dog and your schedule?
Before you mix anything, pick the style that matches your constraints. This saves time and prevents the classic mistake, choosing a recipe that fights your dog’s digestion or your calendar.
- Soft treats work well for seniors, small dogs, and training, but spoil faster.
- Crunchy biscuits store longer and are less messy, but need more bake time to dry out.
- No-bake bites are fastest, but require careful storage and portion control.
One more reality check, if your dog gains weight easily, the “best” treat is usually the one you can break into tiny pieces and still use consistently.
3 easy base recipes (with simple substitutions)
These are meant to be forgiving. If you want to learn how to make homemade dog treats without complicated steps, start here and iterate slowly.
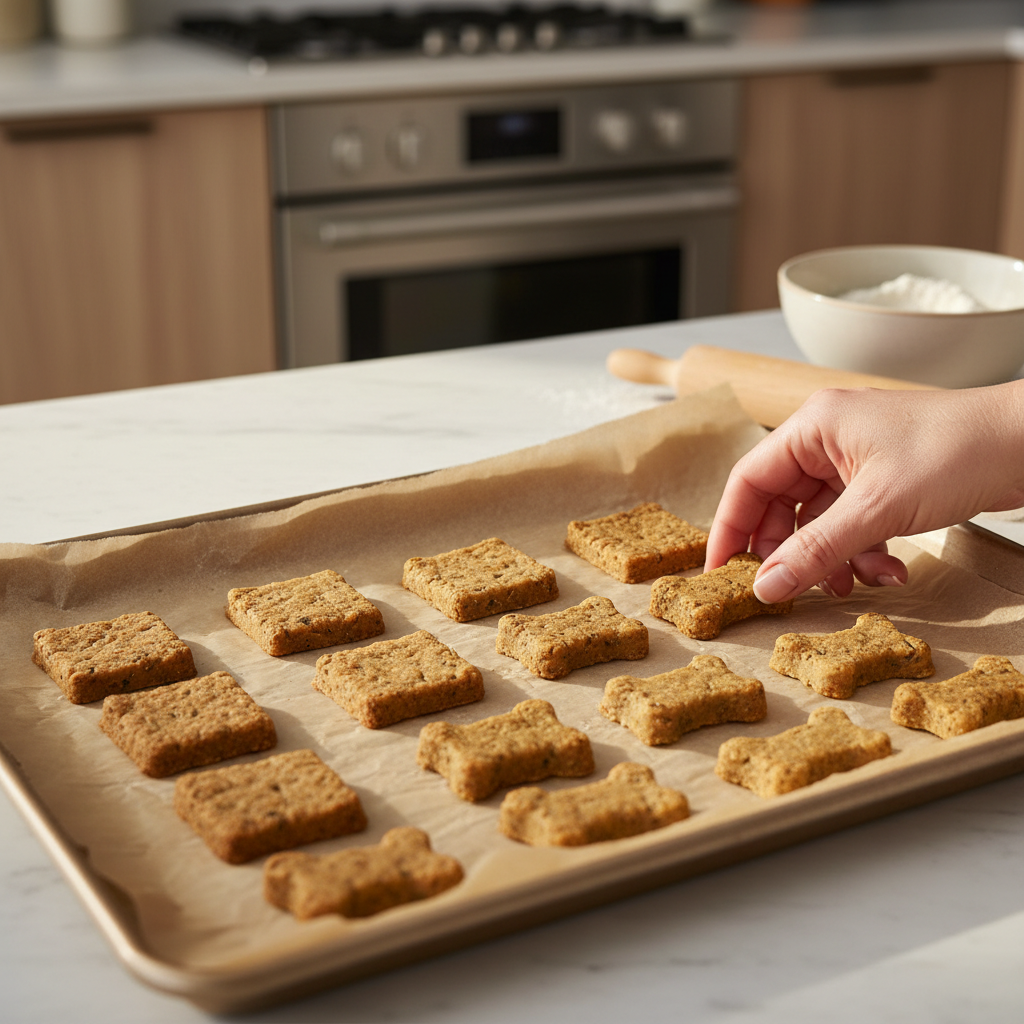
Recipe 1: 3-ingredient pumpkin oat biscuits (crunchy)
- 1 cup oats (blend into flour, or use oat flour)
- 1/2 cup plain pumpkin puree
- 1 egg
How: Mix into a thick dough, press flat between parchment, cut into squares, bake at 350°F for 20–30 minutes depending on thickness. For extra crunch, turn the oven off and let treats sit inside 20 minutes to dry.
Easy swaps: Replace pumpkin with mashed sweet potato, swap oats for whole wheat flour if your dog tolerates wheat.
Recipe 2: peanut butter banana training bites (soft)
- 1 ripe banana, mashed
- 1/3 cup xylitol-free peanut butter
- 1–1.5 cups oat flour (add gradually)
How: Stir banana and peanut butter, add flour until you can roll small balls, flatten slightly, bake at 325°F for 12–15 minutes. Keep them small, these are ideal for repetition.
Easy swaps: Use pumpkin instead of banana if your dog doesn’t handle fruit well, or use sunflower seed butter if peanut isn’t a fit.
Recipe 3: freezer yogurt-pumpkin dots (no-bake)
- 1 cup plain yogurt
- 1/2 cup pumpkin puree
How: Mix, pipe or spoon small dots onto a lined tray, freeze until solid, then transfer to a freezer bag.
Easy swaps: Try lactose-free plain yogurt, or skip dairy and use a dog-safe broth gelatin set if your vet okays it.
Step-by-step method that makes almost any recipe easier
If you’ve tried homemade treats before and they turned out too sticky, too crumbly, or weirdly burnt, it’s usually a technique issue, not you “being bad at baking.” This routine keeps things predictable.
- Decide texture first: soft or crunchy, then bake time follows.
- Use parchment paper: less sticking, less scrubbing.
- Keep thickness consistent: even 1/4-inch changes bake time a lot.
- Cool fully before storing: trapped steam causes sogginess and faster spoilage.
And yes, you can make “ugly” treats. Uneven shapes still smell great to dogs, and the real win is consistency week to week.
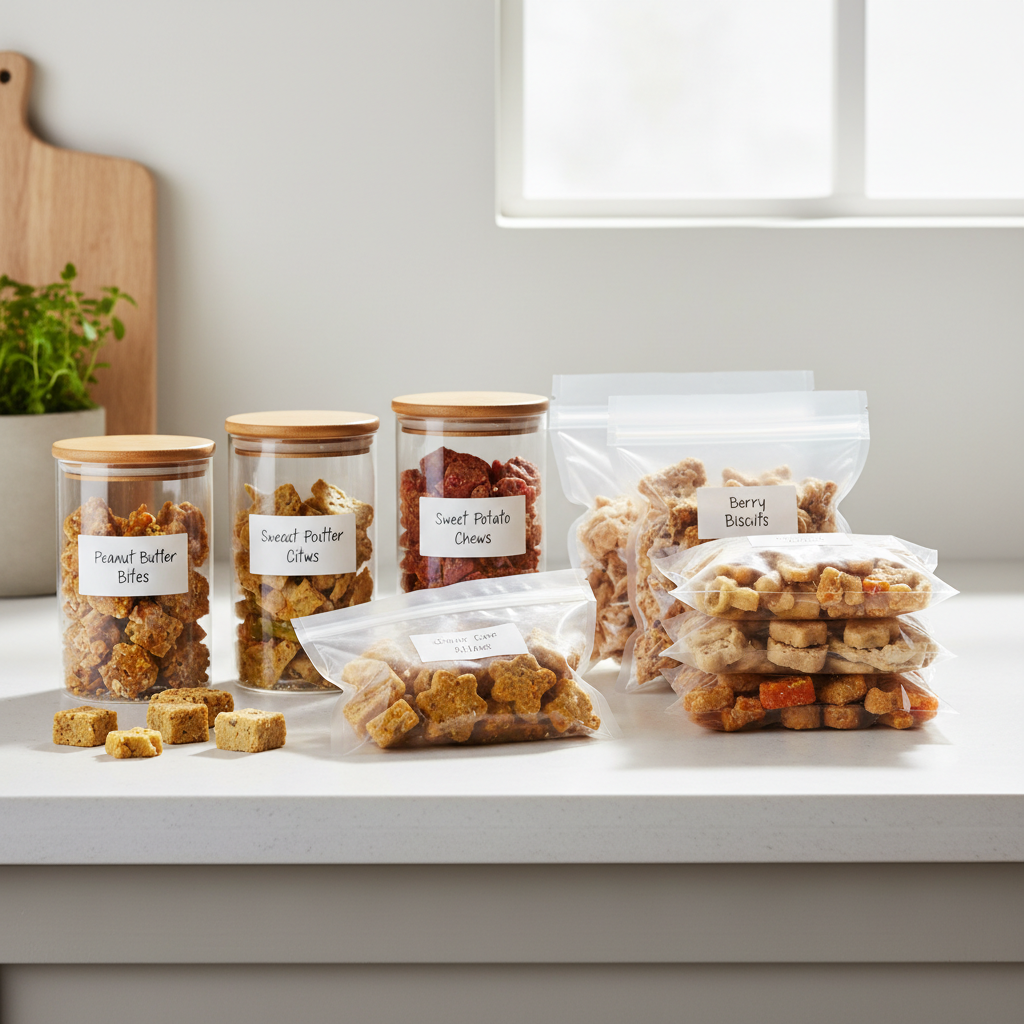
Storage, shelf life, and batch planning (so you don’t waste a tray)
How to make homemade dog treats is only half the story, the other half is keeping them safe and usable. Moisture is the main enemy, it drives mold and off smells.
Quick storage table
| Treat type | Best storage | What to watch |
|---|---|---|
| Crunchy baked biscuits | Airtight container, cool dry place | If they soften, re-crisp briefly in a low oven |
| Soft baked bites | Fridge in sealed container | Moist treats spoil faster, make smaller batches |
| No-bake frozen treats | Freezer bag/container | Serve a few at a time, avoid repeated thaw/freeze |
Batch tip: Make one base dough, bake half as regular treats, then dry the other half longer for crunchier “crate time” snacks. Same work, two textures.
Common mistakes that make “easy” suddenly feel hard
Some frustrations show up over and over. Fix these and homemade treats usually become a low-effort habit.
- Using peanut butter without checking the label: xylitol is the big concern, take ten seconds to confirm.
- Overfeeding because treats are “healthy”: calories still count, especially for small dogs.
- Skipping the cooling step: warm treats in a container create condensation, then things get funky fast.
- Changing too many ingredients at once: if stool changes, you won’t know what caused it.
- Making treats too big: smaller pieces are safer for choking risk and better for training rhythm.
If you’re troubleshooting texture, remember this rule of thumb, sticky means add a bit more dry ingredient, crumbly means add a touch more moisture, do it gradually.
When to talk to a vet or canine nutrition pro
Most healthy dogs can enjoy simple homemade snacks, but some situations deserve a more careful plan. According to the American Veterinary Medical Association (AVMA), pet nutrition needs vary, and individualized guidance matters for medical conditions.
- Your dog has food allergies or chronic itching, ear infections, GI upset
- Your dog is on a prescription diet (kidney, urinary, GI, weight loss)
- You notice vomiting, diarrhea, lethargy after a new treat
- You want treats to support a specific goal (weight management, dental issues), where portions matter
In those cases, it’s reasonable to bring your ingredient list and portion plan to an appointment, you’ll get clearer guardrails and fewer trial-and-error weeks.
Key takeaways (keep this part handy)
- Start simple: 3–6 ingredients, one new item at a time.
- Pick a treat style that matches your dog’s needs and your storage habits.
- Read labels, especially for peanut butter and anything “sugar-free.”
- Small pieces win for training and portion control.
- When in doubt, ask your vet, particularly for medical diets or repeated stomach upset.
Wrap-up: make it easy enough to repeat
How to make homemade dog treats gets easier once you stop chasing perfection and build one dependable go-to recipe, then you rotate small variations as you learn what your dog actually does well with.
If you want a simple next step, pick one recipe above, bake a half-batch this week, and write one note after, texture, stool tolerance, and what size pieces worked best, that note ends up being more useful than any complicated recipe collection.