
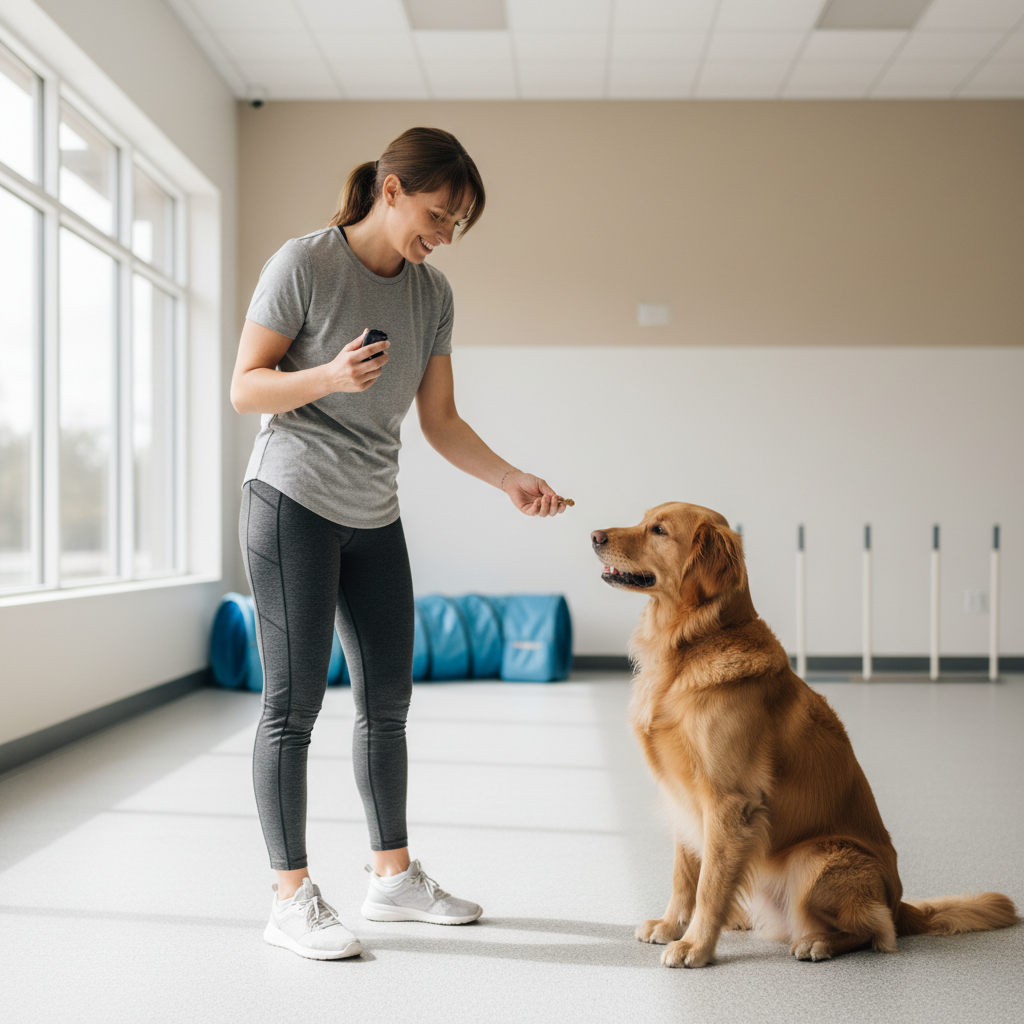
Best dog training clickers are the small tools that make good timing feel easy, until you buy one that’s too quiet, too stiff, or annoyingly inconsistent.
If you’re shopping for 2026, the tricky part isn’t finding “a clicker”, it’s picking one that fits your hands, your dog’s sensitivity, and the way you train, short sessions at home feel different than group classes or outdoor proofing.
This guide breaks down what actually matters, sound, feel, durability, and day-to-day convenience, plus a simple checklist and a comparison table so you can choose fast without guessing.
What makes a clicker “the best” in real training sessions
A clicker only has one job, mark the exact moment your dog does the right thing, but the “best” one depends on how reliably you can hit that moment.
- Sound clarity: a crisp, consistent click is easier for many dogs to discriminate from background noise, especially outdoors.
- Volume control: some dogs startle easily, so a softer click or adjustable option helps keep sessions calm.
- Button feel: stiff buttons slow timing, mushy buttons feel vague, both can make learning slower than it needs to be.
- Hand ergonomics: you’ll often manage leash, treats, phone, and clicker, so size and grip matter more than people expect.
- Durability: a cracked housing or loose metal tongue can change the sound over time.
According to the American Kennel Club (AKC), reward-based training and clear markers help communicate to dogs which behaviors earn reinforcement, a clicker is simply one common way to deliver that clarity.
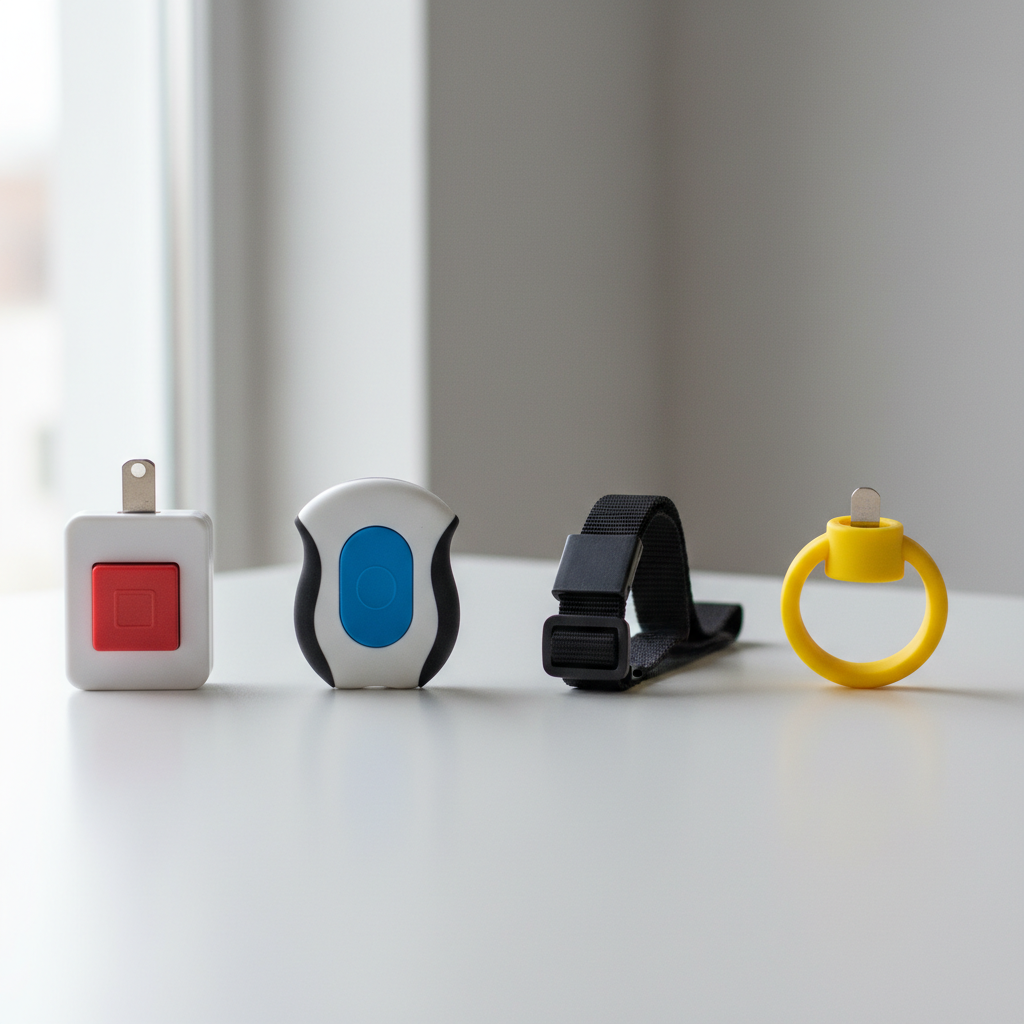
Quick comparison table: common clicker types and who they fit
Most “best dog training clickers” on the market fall into a few predictable types, the fastest way to narrow down is matching type to your setup.
| Clicker type | Best for | Pros | Watch-outs |
|---|---|---|---|
| Box clicker (classic plastic) | Home training, beginners | Simple, cheap, usually loud and crisp | Can be too sharp for noise-sensitive dogs |
| Button clicker (ergonomic) | Longer sessions, small hands, arthritis concerns | Easier press, better grip | Quality varies, some get “mushy” |
| Ring/strap clicker | Loose-hands training, hiking, leash handling | Harder to drop, quick access | Straps wear out, some feel awkward |
| Multi-sound or adjustable | Multi-dog homes, sensitive dogs | Can reduce startling, offer distinct markers | More parts, sometimes less consistent |
| App/e-clicker (phone-based) | Backup marker, accessibility needs | No extra device | Phone lag, distractions, not ideal for timing |
How to choose based on your dog, not the product page
Here’s the uncomfortable truth, many “top” lists ignore the dog in front of you. Two dogs can react completely differently to the same click.
If your dog startles easily
- Look for softer-click models or adjustable volume, then pair the sound at a distance before using it close-up.
- Start with very short sessions, 30–60 seconds, and watch for signs of stress like lip licking, yawning, or avoidance.
- If your dog shows strong fear responses, it’s reasonable to switch to a verbal marker like “yes” and consult a qualified trainer.
If you train outdoors or in busy places
- Prioritize a crisp click that cuts through ambient noise, wind, kids, traffic.
- Choose something you can operate one-handed, because your other hand will be doing leash management.
- Durability matters more, drops happen.
If your hands get tired or you have limited grip
- Ergonomic button clickers usually reduce strain.
- Test for “repeatability”, you should be able to click 10 times in a row without the sound changing.
- A strap can help, it’s not just convenience, it reduces the white-knuckle grip that messes with timing.
Self-test checklist: is your current clicker holding you back?
Most people assume their dog “isn’t getting it”, but the clicker can be the quiet culprit. Run this quick check.
- Consistency: does the sound match every time, or do you get occasional weak clicks?
- Speed: can you click instantly, or do you reposition your thumb first?
- Noise fit: does your dog look away, flinch, or pause at the click?
- Drop risk: do you regularly fumble it when switching treats or grabbing the leash?
- Carry: does it live in the junk drawer because it’s annoying to bring along?
If you flagged two or more, switching to a better-fit marker often improves training flow within a couple sessions, not because it’s magic, but because your timing becomes cleaner.
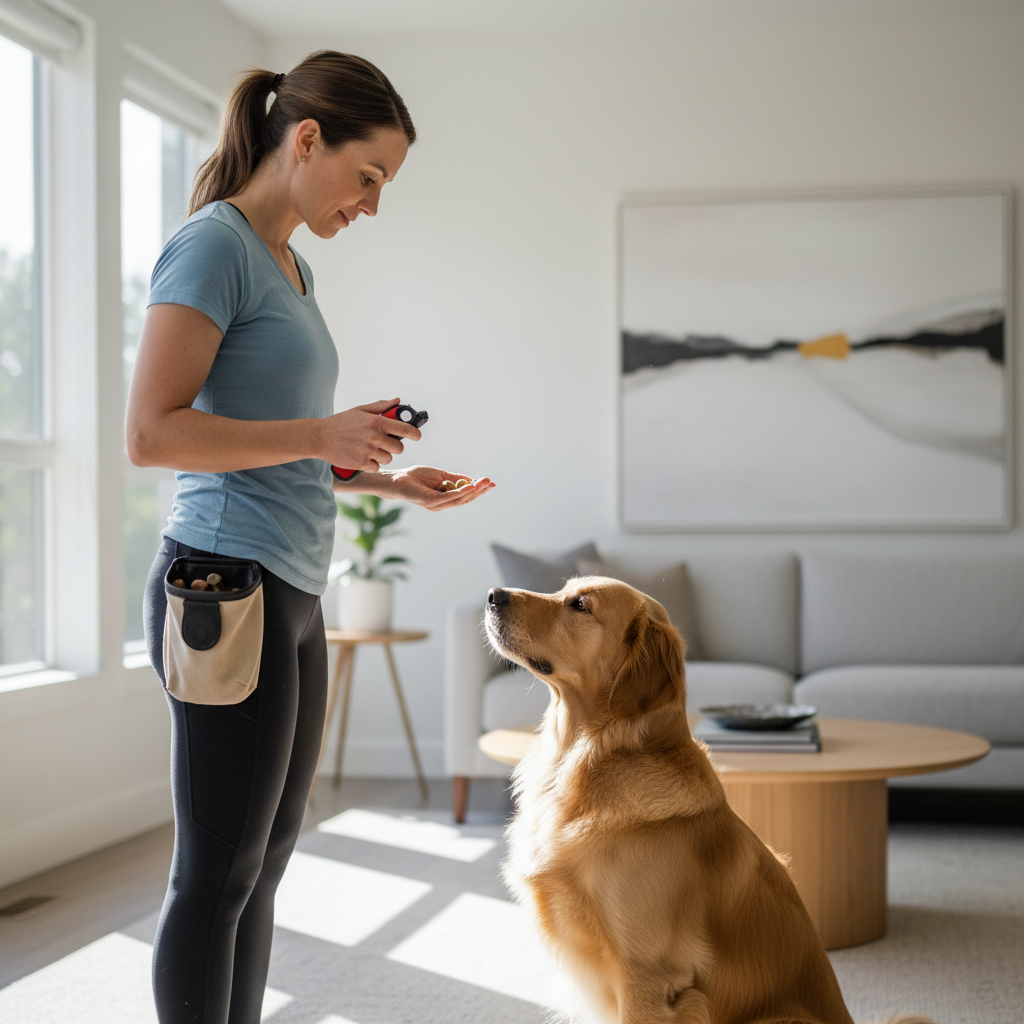
Practical setup: how to introduce a clicker the right way
The click means “that exact moment earned a reward”, not “come get the treat”, not “session starts”. Build that meaning carefully.
Step-by-step pairing (2–5 minutes)
- In a quiet room, click once, then immediately deliver a small treat.
- Pause a second, repeat 10–15 times.
- Stop before your dog drifts off, you want focused anticipation, not boredom.
When to start using it for behaviors
- Once your dog hears the click and immediately looks for the reward, begin marking easy wins like eye contact or a hand target.
- Keep reward delivery fast, the click marks the moment, but the treat still needs to follow promptly to keep the association strong.
According to the Humane Society of the United States (HSUS), positive reinforcement focuses on rewarding behaviors you want to see more often, a clicker is one way to make that reward timing precise.
Common mistakes that make any clicker “not work”
A lot of frustration comes from mechanics, not the tool. Fix these and even a basic clicker often performs better.
- Clicking too late: if the click happens after your dog breaks position, you’re marking the wrong moment.
- Clicking multiple times: rapid clicks often confuse the marker, stick to one click per repetition.
- Using the click to get attention: the click should predict a reward, not function as a noisemaker to redirect your dog.
- Skipping reinforcement: early on, every click should be followed by a reward, otherwise the marker loses meaning.
- Training too long: fatigue makes timing sloppy, keep sessions short and end clean.
Key takeaways and a simple recommendation framework
If you want a low-drama way to choose among the best dog training clickers, use this framework and don’t overthink it.
- Noise-sensitive dog: start softer or adjustable, pair gradually, consider a verbal marker if needed.
- Outdoor training: prioritize clarity and easy one-hand operation, durability over “cute extras”.
- Comfort matters: if your thumb or wrist complains, an ergonomic button and strap usually pay off quickly.
- Multi-dog home: distinct sounds can help, but consistency matters more than novelty.
My opinion as an editor, most people do better with a clicker that’s comfortable and consistent than a feature-packed one, because the real bottleneck is timing you can repeat under pressure.
When to ask a trainer (or your vet) for help
If your dog shows intense fear around sharp sounds, sudden noise sensitivity, or training triggers a big stress response, it’s smart to slow down and get guidance. A certified positive reinforcement trainer can help adjust the marker, plan gradual desensitization, and make sure you aren’t accidentally reinforcing avoidance.
If noise reactivity appears suddenly or seems tied to pain or hearing changes, checking in with your veterinarian is a reasonable step, especially for older dogs.
Conclusion: pick a clicker you’ll actually use consistently
The best choice is the one that stays in your hand, produces a reliable sound, and fits your dog’s comfort level, that’s what turns “I think they understand” into clear, repeatable progress. Choose a type from the table, run the self-test on your current tool, and do a short pairing session today so your next training rep starts cleaner.
If you want the simplest next step, shortlist two styles, one classic and one ergonomic, test them in a quiet room for consistency and comfort, then commit to one for two weeks so your timing and your dog’s expectations stay steady.